The video above is a time lapse of a day in the life of the UD Wind Turbine in Lewes, Delaware.
We were quite excited when they told us that the UD Wind Turbine project was a go. As the time grew near for construction to start, we wanted to chronicle the construction progress and create a time lapse video. I did some research and looked into various webcams with weatherproof housings and the like, but sticker shock at the multi-thousand dollar price tags for the equipment, as well as the networking and power hassles to connect to it made me shy away from a complicated rig. I decided that the best way to go is the simple route.
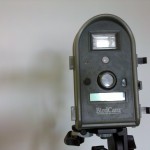
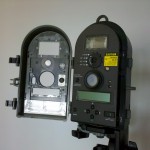
The task really screamed for a lower cost, battery powered, weather-resistant camera that could be set to take a picture every X number of minutes. I finally narrowed the search down to Wingscapes Birdcam 2.0 outdoor camera. The camera retails for about $200 but I found it on Amazon for just over $150. It has lots of advanced features like motion sensing, light sensing, has a built-in flash plus lots of other nifty features. The main selling points for me were that it was designed for outside use (the turbine was being installed in Spring and it was rainy), it stored its images on an easily accessible secure digital card (up to 4Gigs), it had a user programmable time lapse mode, and it ran on four D-cell batteries for > 4 weeks worth of endurance.
As you can see from the time lapse video that MPEO created of the construction at the turbine base, the results were just what we were looking for (except for the big pile of dirt they put in front of the camera ;?). The video from afar was created using images FTP’d from a webcam located over at the Marine Operations Building. I’ll cover the configuration and components for that webcam setup in a later posting.
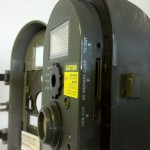
I can easily imagine many other uses for this kind device. Time lapse videos of coastal erosion, tide cycles, lab experiment time series, etc. In addition to the features cited above, the camera also has a video and a USB output on the side of the unit as well as an external power connector at the bottom for more lengthy time lapses. All-in-all, highly recommended.


October 30, 2010 at 12:15 am
This is sosoooooooo cool!